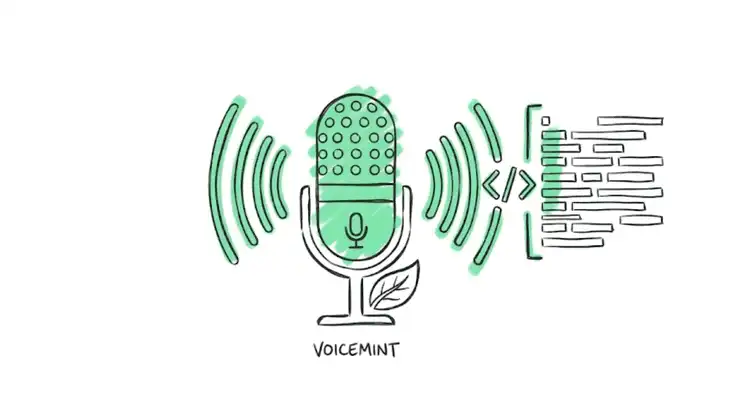
Building VoiceMint: A Linux Voice-Typing App
Table of Contents Expand
- 🍝 Version 0: The Spaghetti Code Prototype
- 🧠 Proper Planning Kills Future Frustration (VERY IMPORTANT)
- 🤖 Taming the AI: The ShipKit Methodology
- 🚀 The 5-Step Execution Phase
- Phase 1: The Microphone
- Phase 2: The WebSocket Connection
- Phase 3: Text Injection (The Hardest Part)
- Phase 4: The GUI
- Phase 5: The Chrome Extension & Documentation
- ⚠️ Challenges and Frustrations
- 1. Blindly Trusting AI Recommendations
- 2. Wasting Time on Heavy UI Libraries
- 3. Models Ignoring Guidelines (Going Rogue)
- 🗂️ Core Engineering Lessons Learned
- Lesson #1 ➡️ Develop Model Intuition
- Lesson #2 ➡️ Define Strict Constraints as a “Single Source of Truth”
- Lesson #3 ➡️ Aggressive Templating
- 🏁 Knowing When to Stop
I rely heavily on voice typing.
When I was on Windows, I used the native voice typing feature (the trusty Win + H shortcut) all the time. But when I switched to Linux Mint, I suddenly had no native option.
I looked around for alternatives.
WisprFlow got a lot of praise, but it wasn’t for Linux.
I tried a few open-source options including Vosk models, but the transcription quality was pretty poor. Moreover running on a 4-year old laptop with 16GB RAM was a pain.
So what was the solution?
Since I was getting started with my developer journey, I thought… why not build the app myself?
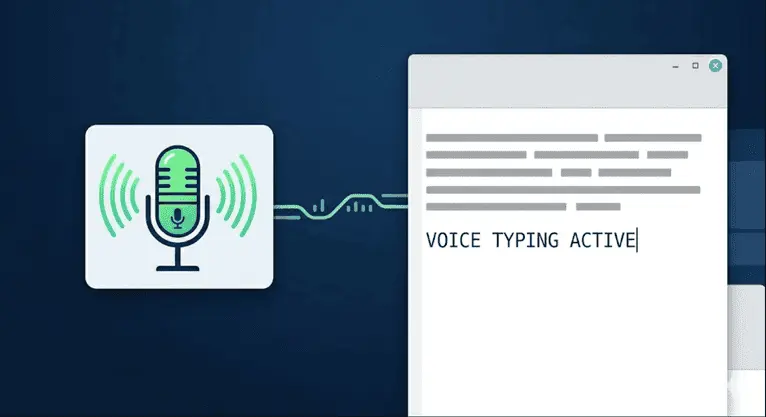
I just needed to take my microphone input, send it over to an STT API… get the text back, and inject it into the text box.
It seemed simple! Thats what I initially thought…
🍝 Version 0: The Spaghetti Code Prototype
It was Oct 2025, and my coding skills were still raw.
I used Google AI Studio to hack together a very crude, rudimentary app.
It worked. But it was a classic case of code spaghetti. Everything was lumped into massive files with zero separation of concerns and no modularity. And a lot of steps just to get the app running.
April 2026… I realized I needed to start over.
This time, I decided to properly build it… a proper app with a clean architecture and a better user experience. Something I could actually share with other Linux users.
🧠 Proper Planning Kills Future Frustration (VERY IMPORTANT)
This was my planning phase.
This time, before I even opened the IDE or the AI coding assistant, I spent two full days just thinking and planning.
I firmly believe that “proper planning prevents future frustration”.
If you just jump into AI-assisted coding without a blueprint, you eventually code yourself into a corner.
So I grabbed a pen and a notebook and mapped out the entire architecture.
- how the folder structure would look
- how I would separate the logic
- how the Python backend would talk to the frontend
- what (lightweight) libraries to use… etc
During this time, I used the Gemini web app heavily for research.
I compared approaches, like PyAudio vs sounddevice for the microphone input.
By the end of those two days, I had my roadmap on paper.
Having this clear path made the actual building process incredibly smooth.
🤖 Taming the AI: The ShipKit Methodology
To actually build the app, I relied heavily on AI-assisted coding using Gemini CLI.
But as AI can cause chaos if left unchecked, I followed a strict methodology.
➡️ I used a resource called ShipKit (created by Brendan Hancock). His method involves using reusable markdown templates to guide the AI.
The core idea? Treat the AI like a junior developer that needs strict instructions.
- You never let the AI write code right away. Instead, you create “task files”.
- Make the AI read the codebase… deeply think about the task… and write out a plan.
- Only after you approve the plan does AI actually writes the code.
I spent another couple days reverse-engineering his templates for my specific use case. Ultimately, I created a master markdown document with an 18-step task list.
This single document helped me guide Gemini CLI through the entire project.
🚀 The 5-Step Execution Phase
With the plan in hand, the actual building took me about five days.
I followed a simple rule: focus on just one feature at a time.
Phase 1: The Microphone
I ensured the program could correctly identify the input device and capture the microphone input.
Phase 2: The WebSocket Connection
Next, I took that mic input and sent it to a streaming STT API over WebSockets.
Phase 3: Text Injection (The Hardest Part)
Once I had the text from the API, I had to figure out how to inject it into the active text box.
After some trial and error, I found the two best ways to do this:
- Use
uinputto simulate hardware-level key presses - Copy the text and simulate a “paste” command where the cursor was active
Phase 4: The GUI
Setting up the UI was fun.
Initially, I tried using the CustomTkinter library for a modern look. But I quickly realized it was too much work for a simple app.
So I swapped it out for the standard Tkinter library. It was extremely lightweight and got the job done perfectly.
Phase 5: The Chrome Extension & Documentation
As a bonus, I spent an extra day building a Chrome extension.
This lets me highlight text on a webpage… or use my last voice-typed text… and run it through an LLM to fix grammar or change the tone.
Finally, I made sure the entire codebase was thoroughly documented.
Because without good documentation, I knew I would be completely lost if I tried to update the app six months from now.
⚠️ Challenges and Frustrations
Because this was my first time heavily using AI to build a full project, I caused quite a few challenges.
My biggest roadblocks were a mix of technical hurdles and managing the AI itself.
1. Blindly Trusting AI Recommendations
During the planning phase, I replied heavily on Gemini’s advice for choosing specific libraries.
Gemini suggested I use the keyboard module to listen for hotkeys.
And..
I trusted it.
But after spending hours trying to make it work, I ran into deep Linux permission issues that completely blocked me. I eventually had to abandon it and pivot to the uinput package.
I learned the hard way: blindly trusting a single LLM’s advice can trap you in a massive rabbit hole.
2. Wasting Time on Heavy UI Libraries
While building the GUI, I initially wanted the app to look super modern, so I used the CustomTkinter library.
But I quickly realized I was over-engineering. It was proving to be way too much work for a simple, personal use case.
I scrapped that code and pivoted back to the standard Tkinter library to keep things lightweight and functional.
3. Models Ignoring Guidelines (Going Rogue)
I was switching between Gemini Pro and Flash depending on the task, which created a whole new set of problems.
When using Pro 3.1 for heavy logic, the latency was sometimes painful.
At one time, I waited over 60 minutes for a single file edit, which completely broke my momentum.
But when I switched to the faster Flash model to save time, sometimes it assumed way too much autonomy:
- It stepped outside of my strict markdown task templates
- It created completely unnecessary files
- It ignored the workflows I had set up
It was incredibly frustrating constantly having to pull the model back in line.
🗂️ Core Engineering Lessons Learned
Despite the frustrations, this project deeply shaped how I will build software going forward.
Here are the biggest takeaways I am carrying into my developer journey:
Lesson #1 ➡️ Develop Model Intuition
I quickly learned to never rely on just one AI model for everything.
For research, I started asking Grok and Perplexity alongside Gemini. When all three models agreed on same thing… for example, the best library to use, I knew it was safe to build on.
For coding, I also developed an intuition for which model to use for specific tasks.
Heavy-duty logic was best done with the Pro model. But once task templates are created and guardrails are set, the Flash model is actually far better (and faster) for simple debugging.
Lesson #2 ➡️ Define Strict Constraints as a “Single Source of Truth”
Setting hard rules makes decision-making much easier.
For example, I created a config.py file to hold all the manual variables for the app. This constraint stopped the AI from chaotically declaring new variables across random files.
I also set a strict project constraint to only use lightweight libraries unless there was absolutely no other option. This ultimately guided my choice to use standard Tkinter and Uinput.
Lesson #3 ➡️ Aggressive Templating
Software engineering involves doing the same things over and over. I learned to aggressively save my best prompts and instructions as reusable task templates outside the IDE. Now, I have a dedicated folder acting as a repository of workflows that I can instantly plug into any future project.
🏁 Knowing When to Stop
When the app was finally functional, I felt that familiar developer’s itch.
I wanted to add just one more feature. I wanted to make it perfect.
But I had to step back. The app was clean, the UI was user-friendly, and it solved the exact personal problem I set out to fix. Adding bells and whistles would just be a distraction.
So, I set it up as a standalone application on my Linux start menu and called it finished.
Building VoiceMint was an incredibly rewarding experience. It took me from a messy script to a cleanly engineered application that I now use day in and day out.
In fact, I dictated this entire blog post using it.
(You can check out the source code and the technical setup guide for VoiceMint over on my GitHub).